
God of War valkyrie locations: how to find every hidden chamber
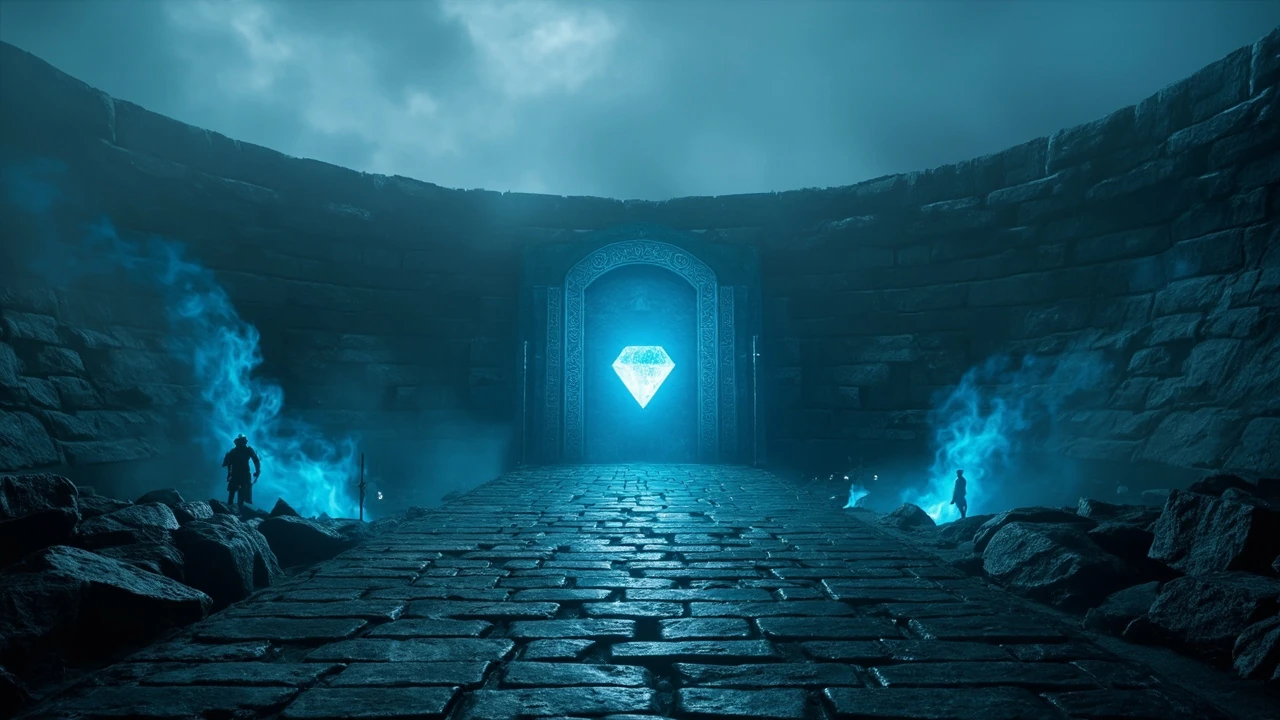
Finding the god of war valkyrie locations is one of the last real tests a player faces in the 2018 game. The Valkyries are not standing around waiting to be discovered: they are sealed inside nine optional arenas called the Chambers of Odin, scattered across the Lake of Nine, Alfheim, Muspelheim, Niflheim, and Helheim. Each chamber is locked behind the same heavy door until a specific tool is found, and each door is marked by a glowing blue crystal that separates it from ordinary side rooms.
Before chasing any of them down, it helps to know that the encounters are tuned to a late-game build. The fights expect the player to have invested in a fully leveled runic attack set, runic summons, talismans, and a competent set of pommel or attachment upgrades. Showing up at level three with a stock Leviathan Axe will still produce a defeat screen, because the encounters are designed to punish mistimed blocks and uncommitted combos.
This guide breaks the journey into three parts: the prerequisites every player needs before the doors will even open, the route through each of the nine chambers, and a short set of tactical notes that apply to most of the fights. It also covers what happens after the ninth helmet drops, because the chained fight with the Valkyrie Queen is mechanically separate from the rest of the list.
Prerequisites before any chamber will open
The Valkyries are not a level-gated content drop. They are an item-gated set of optional encounters, so progress depends on finding two specific objects during the main story before any door will respond.
- Magic Chisel: obtained from a story interaction with Thamur’s corpse. The chisel is the key item that opens the blue crystal doors around the world.
- Main story progress: the chisel is only available after the Thamur section of the story. Doors before that point remain sealed even if the player walks past them.
- Map awareness: every chamber is tucked off the main path. The blue crystal diamond is the only reliable visual signal that a side door leads to a Valkyrie rather than a loot room.
Once the chisel is in the inventory, every chamber in the explorable area becomes interactable, which means the list of god of war valkyrie locations can be cleared in almost any order. There is no internal lock where one Valkyrie is required to unlock the next, so players can route based on which realm they are already exploring.
How the chambers are organised across the realms
The nine Valkyries are not spread evenly. Midgard itself holds a surprising number, while Muspelheim and Niflheim contribute only one apiece because of how those areas are designed. The table below summarises the realm, the rough region inside that realm, and the broad clue that leads to the door.
| Realm | Region | Direction clue |
|---|---|---|
| Midgard | Thamur’s corpse area | Just up from the boat dock as the area opens. |
| Midgard | Wildwoods, near Freya’s hut | Inside the caves beneath Freya’s hut. |
| Midgard | Foothills, near Sindri’s shop | Take the right-hand fork from the path near Sindri’s shop. |
| Alfheim | Large open lake area | Follow the coastline left from the boat to a cliff dock. |
| Midgard | Story lift chamber | Cross to the far side of the room where the lift breaks. |
| Muspelheim | Survival challenge chain | Appears as the sixth and final challenge after the first five. |
| Midgard | World Bridge | Explore toward the end of the bridge to find the chamber. |
| Niflheim | Central maze area | Follow the path left, then take the first arena on the left. |
| Helheim | Bridge area | Reach the higher sections of Helheim after the main story. |
The exact names that go with each chamber can be found in the source guide, but the order above roughly matches the difficulty curve: Midgard fights first for orientation, Alfheim and the World Bridge fights next as a step up, then the Muspelheim, Niflheim, and Helheim encounters for players who want the harder duels.
Walking the route from Midgard to Helheim
Once the chisel is in hand, the practical question becomes which chamber to clear first. The order below is one defensible route that respects the natural story pacing and lets a player learn the Valkyrie moveset gradually. None of the fights depend on each other, so a more confident player can skip ahead without losing anything mechanically.
- Thamur’s corpse chamber. Just above the boat dock as the area opens. The first Valkyrie sets the baseline: expect unblockable red-ring attacks, a wing-grab teleport, and a quick combo chain that punishes panic rolling.
- Wildwoods chamber. Beneath Freya’s hut, which means the player is already in the area for the main story. A good place to confirm the block and counter rhythm before venturing further.
- Foothills chamber. The fork near Sindri’s shop is easy to miss because the main path goes the other way. Take the right-hand route to reach the door.
- Alfheim chamber. Once Alfheim’s main bridge is restored, sail into the open water and follow the left coastline to a hidden dock. The chamber is up the cliff path.
- Story lift chamber. In the large room where the main-story lift breaks, the chamber sits on the far side. Re-entering the area after the story is the most reliable way to reach it.
- Muspelheim challenge. The Valkyrie in Muspelheim is technically the sixth survival challenge rather than a sealed chamber. The first five trials must be completed before the final encounter unlocks.
- World Bridge chamber. The bridge itself is the entry point. The chamber is near the end of the structure, so players who have already crossed for the story will not need extra setup.
- Niflheim chamber. Hildr is reached from the central maze. Follow the path to the left, keep progressing, and the first arena to the left is her spawn point until defeated.
- Helheim chamber. The Helheim Valkyrie sits high on the bridge area. Re-entry after the main story is the cleanest way to reach her arena.
After the ninth helmet is collected, the route continues at the Valkyrie Council rather than at a chamber, so the final fight is described in its own section below.
What to bring into a Valkyrie fight
The Valkyries share a common moveset philosophy: aggressive combinations, frequent unblockables, and a phase transition at low health where their attacks get faster and the arena hazards become more dangerous. A general-purpose build usually out-performs a build specialised for a single weapon, because players need to swap between the axe, blades, and bare hands to break their stance at the right moment.
- Runic attacks ready. The most consistent opener is to throw both light and heavy runic attacks at the start of the fight. The Valkyrie is vulnerable during the long animations, and a well-timed set will shave off a noticeable portion of her health bar before the duel really begins.
- Stunlock with the Blades of Chaos. Once the Blades are unlocked, four consecutive runic attacks can chain-stun the Valkyrie. This is one of the cleanest ways to skip her early aggression and force her into a punishable state.
- A defensive option for red-ring attacks. The unblockable wing grab and the ground slam are signalled by a red ring on the ground. Players who can dodge these consistently will avoid the largest single-source damage spike in each fight.
- Spartan Rage as an emergency reset. Rage is most useful as a panic button if the player is one hit from death. Saving it for a clean disengage is usually more efficient than trying to use it offensively.
- Pommel or attachment upgrades on the active weapon. Higher-tier pommels open new combo finishers, and several of those finishers deal with the Valkyrie’s block more reliably than base combos.
Common failure modes and how to read them
Most Valkyrie defeats come from the same handful of mistakes. Recognising which one is happening in a run makes the next attempt much more efficient than just adding more raw damage.
| Symptom | Likely cause | Adjustment |
|---|---|---|
| Hit by the same grab twice in a row | Dodging on the same timing the previous run | Dodge earlier on the second red ring, then resume pressure |
| Health drains in a single combo | Panic rolling away from a chain | Block the first hit, then dodge the second, then counter |
| Stun breaks before the runic chain finishes | Mixing light and heavy attacks in the stun | Chain the same runic attacks back to back |
| Damage drops off in phase two | Standing too far to bait the dive | Stay mid-range and commit to one opener per window |
| Run ends just before phase two | Spending resources on adds rather than the boss | Ignore summons in the second half, focus on the Valkyrie |
Each of these adjustments is small, but they stack. Players who fix one habit per attempt usually clear the encounter within two or three tries, which is well within the intended difficulty budget for a late-game optional fight.
What changes after the eighth Valkyrie
Defeating the eight Valkyries in the chambers is the trigger for a separate sequence rather than another arena. The collected helmets can be taken to a specific location in Midgard called the Council of Valkyries, which is reached through the Realm Travel room after the story.
- Travel to the Council chamber and place each helmet on its matching seat. The order is set by the design, so players cannot pick a custom arrangement.
- Once the eighth helmet is placed, a realm tear appears at the centre of the arena. Interacting with the tear starts the final encounter.
- The fight against the Valkyrie Queen, Sigrun, uses every move the player has seen across the eight prior duels, plus a few of her own. The phase-two aggression is the highest in the game outside of end-game DLC content.
- Defeating Sigrun awards the Chooser of the Slain trophy. It is one of the harder trophies in the base game, and it is treated as a completion signal for the Valkyrie chain rather than a side reward.
Because Sigrun inherits the moveset of the previous fights, players who have not learned the block-and-counter rhythm against the earlier eight will not have a clean place to learn it during the Queen fight. Clearing the chambers in order, and using each as practice, is the most reliable preparation path.
Connections to the wider game design
The Valkyrie chain is a useful case study in how the game structures optional difficulty. A few production and design choices are visible in the way the list works, and they explain why the fights feel like a coherent group rather than nine separate encounters.
- Shared moveset, escalating pacing. Each fight uses the same base combo set with small additions. The progression feels like an extended tutorial in which the player learns the rhythm once and then faces it under harsher conditions.
- Chained reward gating. The helmets do not unlock their final use until the full set is collected. This is the design pattern that turns eight fights into a single long challenge rather than a checklist.
- Optional but signposted. The blue crystal door language is consistent across every chamber, which is the design hint that the player is meant to recognise the pattern. There is no hidden teleport or invisible trigger.
- Late-game tuning. The fights expect late-game gear because they sit in regions the player only visits after the relevant upgrades are available. There is no level-scaling trick that makes the early chambers trivial, but the same gear investments affect the entire set.
For readers interested in how optional challenges like this fit into a wider production schedule, the underlying principle is that the content needs its own gating language (the crystal doors), its own progression arc (the eight-then-Queen chain), and its own reward that only unlocks at the end. Missing any one of those pieces turns the chain into nine disconnected fights.
Frequently asked questions
Do I need the Magic Chisel before any Valkyrie door will open?
Yes. Every Chamber of Odin is sealed behind the same blue crystal door, and the chisel is the only key item that interacts with those locks. The chisel is a story reward from Thamur’s corpse, so the doors cannot be opened earlier even if the player walks past them during earlier chapters.
Is there a recommended level for the Valkyrie fights?
There is no enforced level, but the fights are tuned for a late-game build. Players who go in with fully leveled weapons, decent pommel or attachment upgrades, and a practiced set of runic attacks will find the encounters much more forgiving than someone using base equipment.
Can I fight the Valkyries in any order?
Yes, with one exception. The Muspelheim Valkyrie only appears as the sixth and final challenge of that realm’s survival chain, so the first five trials must be cleared before that specific fight unlocks. The remaining eight chambers can be tackled in any order once the chisel is in the inventory.
Where is the Valkyrie Queen fight?
After all eight helmets are collected, place them on the seats in the Council of Valkyries in Midgard. A realm tear will then appear at the centre of the arena, and interacting with it starts the fight against Sigrun.
Do I lose progress if I die to a Valkyrie?
No. Dying inside a chamber restarts the encounter with full health, and the chamber remains accessible. There is no consumable cost or story penalty for losing to a Valkyrie, which keeps the optional challenge as a pure skill test.
What is the reward for clearing every Valkyrie?
Each Valkyrie drops a unique helmet, and the set is required to unlock the Council encounter. Defeating Sigrun, the Valkyrie Queen, awards the Chooser of the Slain trophy, which is treated as the completion reward for the entire chain.
Are the Valkyrie fights different on higher difficulties?
Yes. The base moveset is the same, but enemy aggression, damage, and the use of unblockable attacks scale with the chosen difficulty setting. Players who learned the fights on a lower setting should expect a longer reset before they clean attempts on the higher tiers.
Is the Muspelheim Valkyrie inside a Chamber of Odin?
No. The Muspelheim encounter is integrated into that realm’s survival challenge structure rather than placed in a sealed chamber. Functionally it behaves like the others, but it is reached by completing the first five trials, not by finding a crystal door.
Do the Valkyries respawn after I defeat them?
Once a Valkyrie is defeated, the chamber remains in the world but the fight does not reset. The reward is one-time per playthrough, which is what allows the full set of helmets to be assembled for the Queen fight.
Should I clear the Valkyries before or after the main story?
Either works mechanically, but the practical answer is to clear them after the main story for two reasons. The first is that the relevant upgrades are easier to assemble late in the game, and the second is that the Queen fight and its trophy are best approached when the player has the full movement and combat set available.
Leave a Reply